How to do the Thoracic Rotation with Hand Support
Primary: Full Body.
Improves mobility in the mid-back and shoulders.
Step by step
- 1
Start on all fours.
- 2
Place one hand behind your head.
- 3
Rotate your elbow toward the ceiling, then bring it back down toward the opposite arm.
- 4
Switch sides.
Coaching cues
- Follow your elbow with your eyes.
- Keep your hips still.
- Breathe deeply.
Sets, reps and where it fits
Muscle
3–4 × 12–16 sec
rest 60–90 s
Strength
not a strength lift
use for assistance
Fat loss
3 × 12–16 sec
rest 45–60 s
Thoracic Rotation with Hand Support alternatives
Same movement pattern, different equipment or difficulty. Swap one-for-one in any plan.
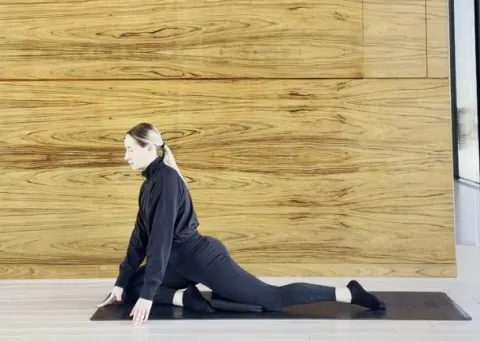 Back Leg Curl in Deep Support PositionBodyweight · beginner
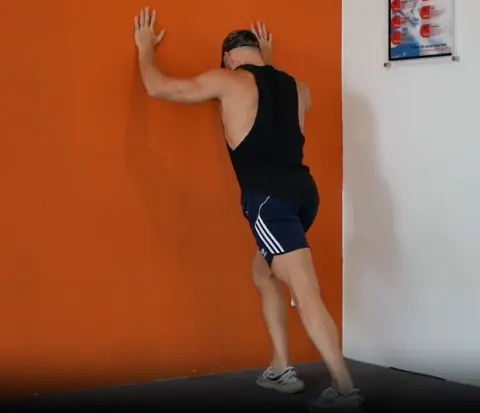 Calf StretchBodyweight · beginner
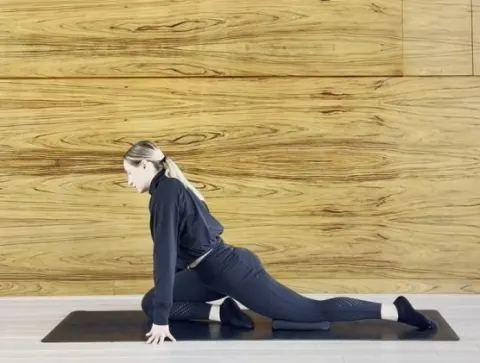 Dynamic Body Rocks in Deep Support PositionBodyweight · beginner
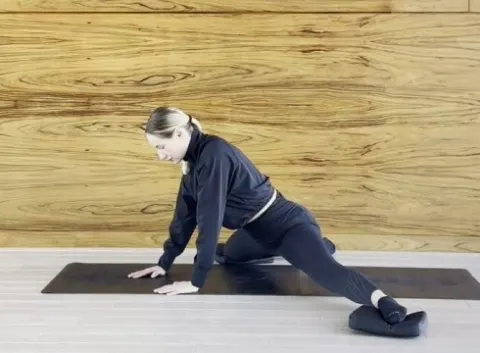 Dynamic Front Split Stretch with Torso LiftBodyweight · beginner
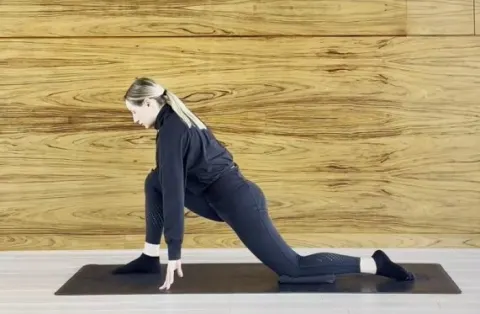 Dynamic Hip Stretch with Knee SupportBodyweight · beginner
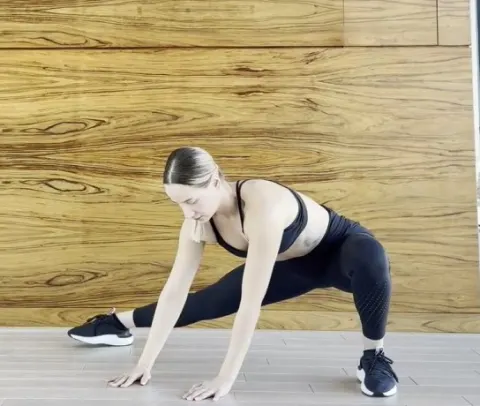 Dynamic Side LungesBodyweight · beginner
Frequently asked questions
What muscles does the Thoracic Rotation with Hand Support work?
Primary: Full Body.
How many sets and reps of Thoracic Rotation with Hand Support should I do?
Hold or work for 12–16 seconds per set, 3–4 sets, resting 45–60 seconds between them. Add time before adding load.
What can I do instead of the Thoracic Rotation with Hand Support?
Same movement pattern, different equipment: Back Leg Curl in Deep Support Position, Calf Stretch, Dynamic Body Rocks in Deep Support Position, Dynamic Front Split Stretch with Torso Lift, Dynamic Hip Stretch with Knee Support, Dynamic Side Lunges.
Is the Thoracic Rotation with Hand Support good for beginners?
Yes. It is a beginner-friendly movement; start light, master the steps above and add load gradually.